Gatsby.js is an extremely fast, well optimized static site generator that enables you to build websites or web apps powered by React JS, GraphQL, Webpack and other modern Javascript technologies. In this tutorial I will walk you through the process of setting up a simple Gatsby project.
Installation
Installation is easy with Gatsby. Make sure you have Node.js (I recommend version 8 and up) and NPM installed on your machine:
npm install --global gatsby-clithis will install the gatsby command line tool to your global scope. Next we create a new Gatsby project with
gatsby new my-static-gatsby-siteyou should see a new folder created call my-static-gatsby-site, and within the folder are a couple of basic starter files
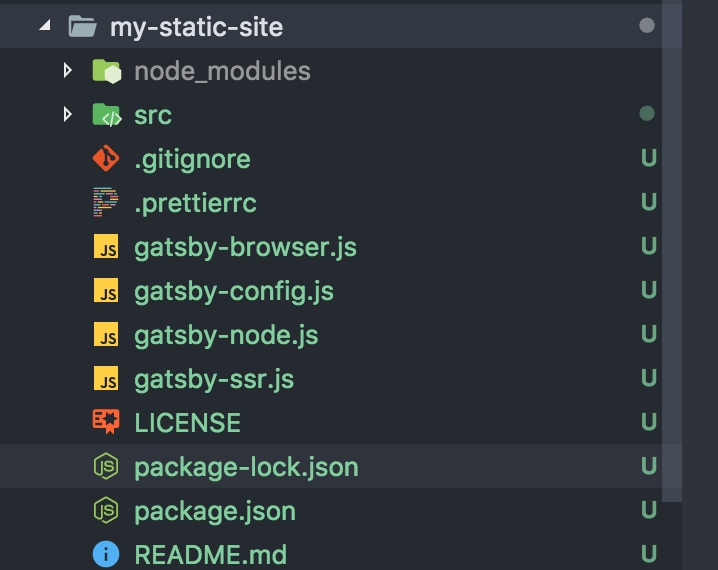
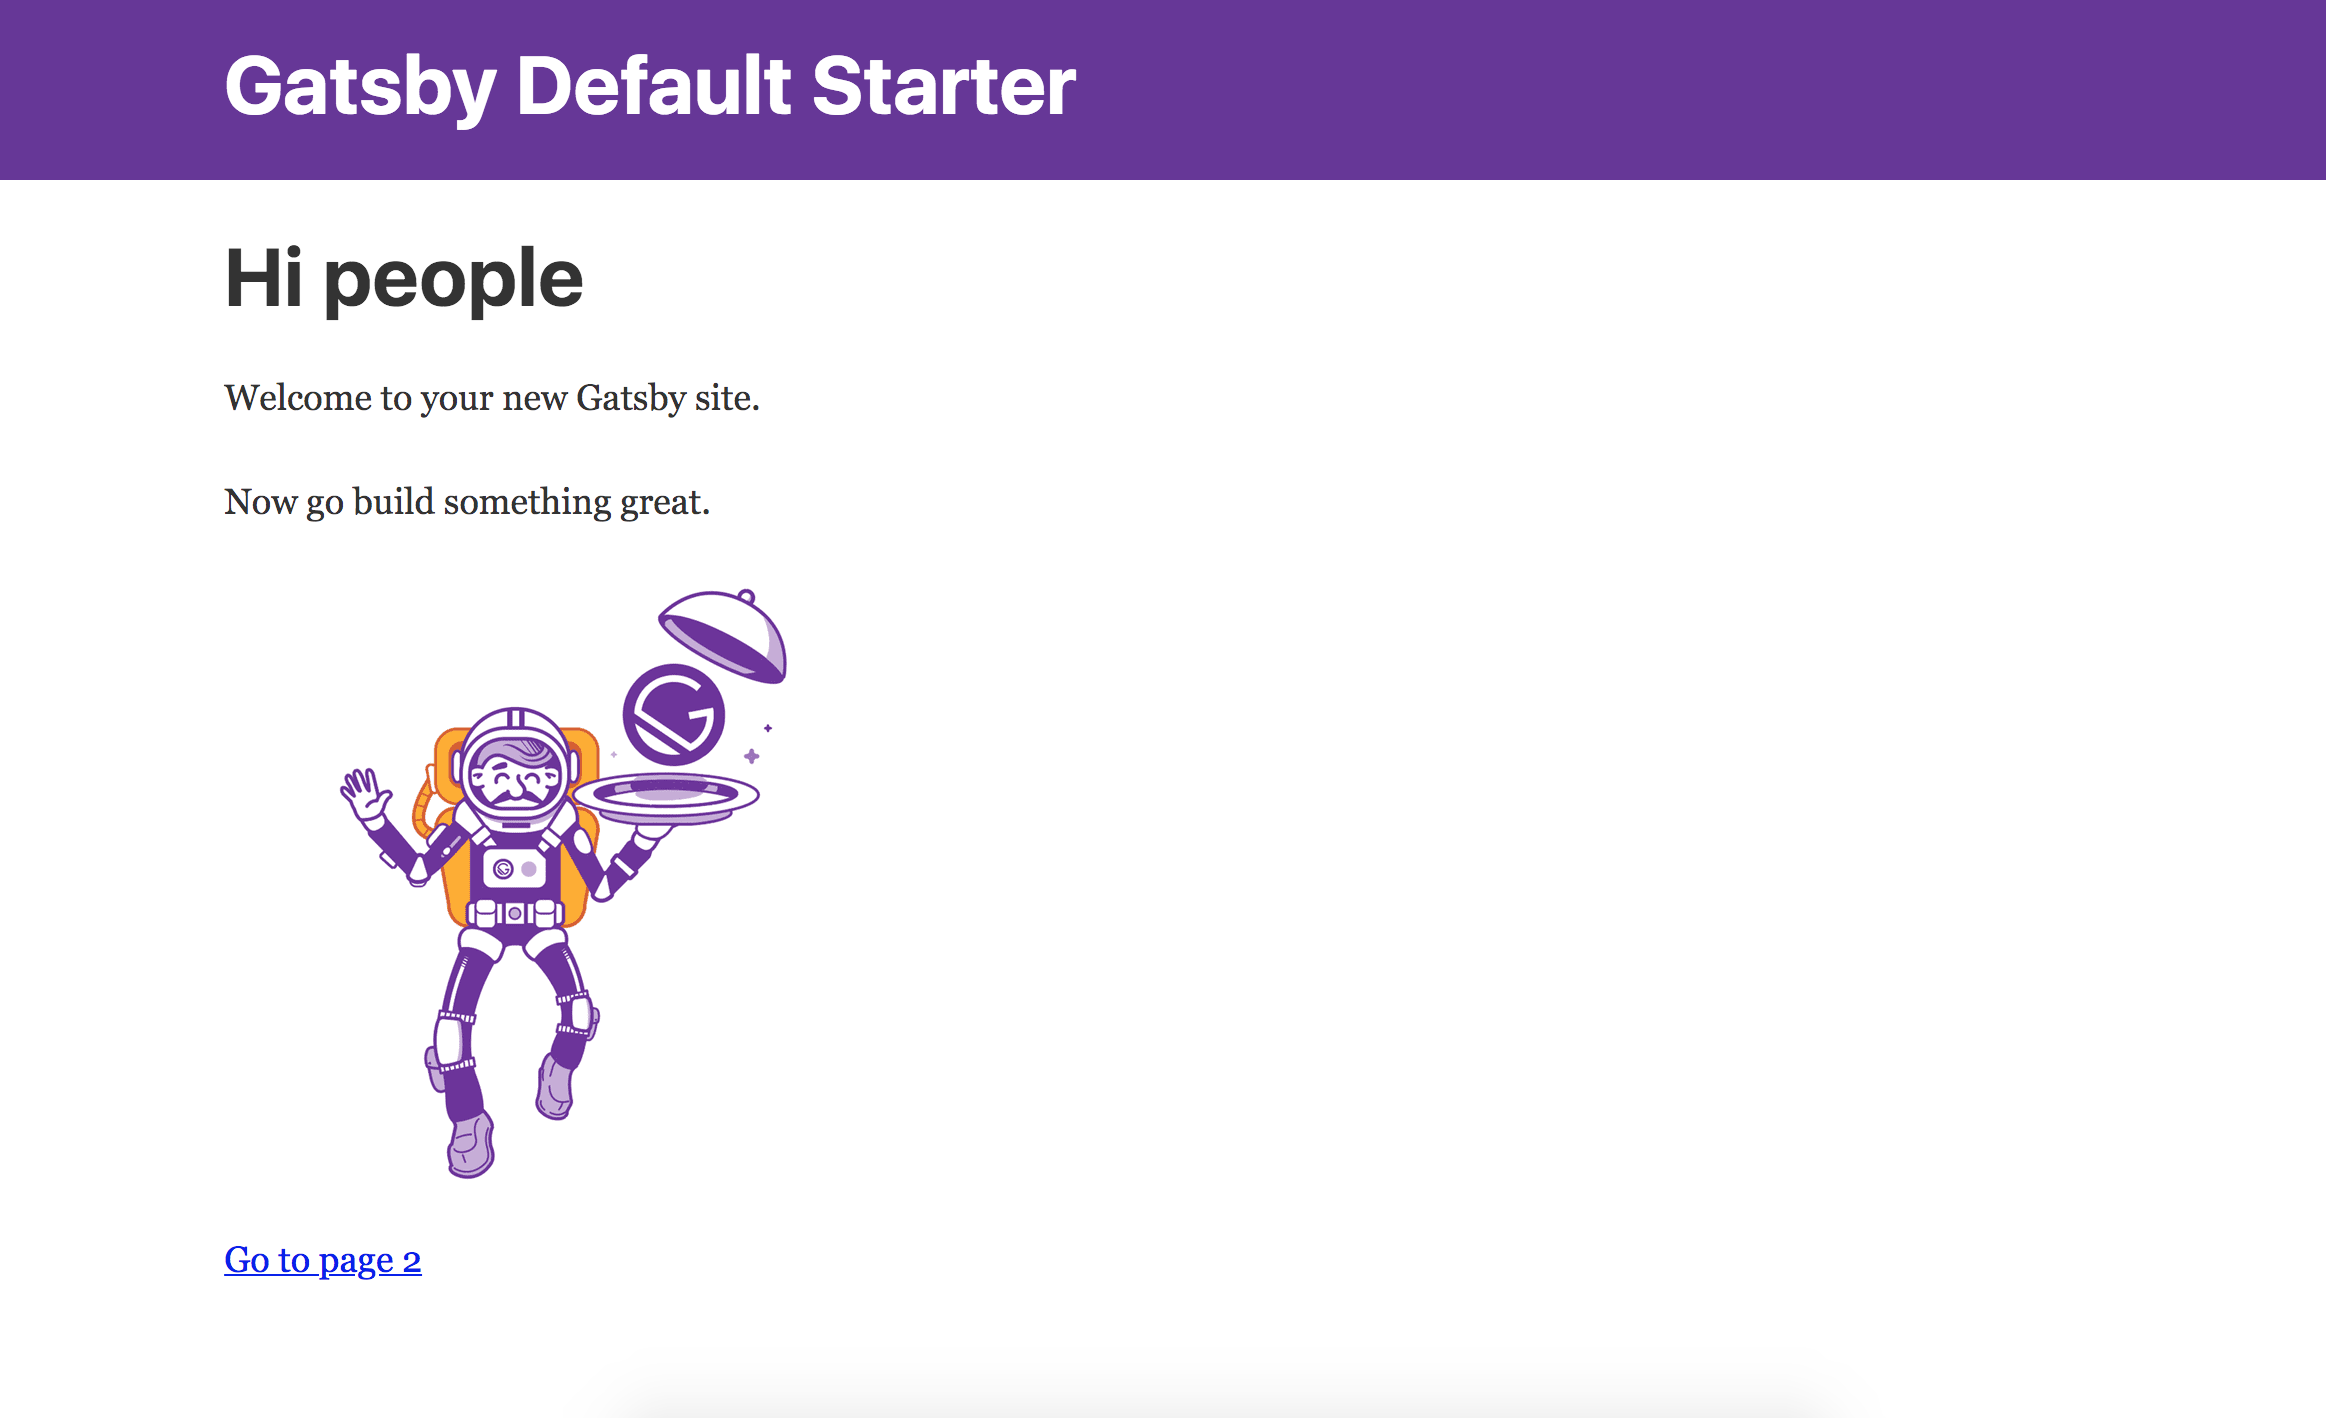
Great! now cd into the directory, run npm start and head over to http://localhost:8000/ and you should see a start page with basic components in place
Application Structure
The structure of Gatsby application is very similar to any other React application. The root path contains configuration files, Our focus is the src folder and the gatsby-config.js file. These are the files we need to change to in order to customize our application.
Let’s go inside the src folder and see what the application structure looks like.
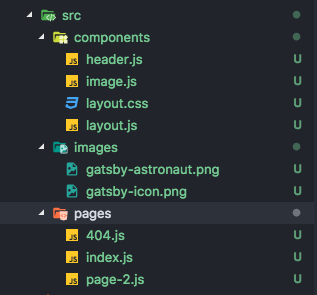
The components folder is where your react components live. It’s currently a little messy, so feel free to organize it, I recommend making a folder for every component so you can put the js and css files together. There is one special file in here you should pay attention to, and that is the layout.js file, this file is the component for shared UI that appears on every page of your site, for example, header, navbar or footer.
const Layout = ({ children }) => (
    render={data => (
      <>
        <Header siteTitle={data.site.siteMetadata.title} />
        <div
          style={{
            margin: '0 auto',
            maxWidth: 960,
            padding: '0px 1.0875rem 1.45rem',
            paddingTop: 0,
          }}
        >
          {children}
        </div>
      </>
    )}
  />
)
once you defined your layout component, you may use it like so in any of your pages components:
const SecondPage = () => (
  <Layout>
    <h1>Hi from the second page</h1>
    <p>Welcome to page 2</p>
    <Link to="/">Go back to the homepage</Link>
  </Layout>
)
Next you have your images folder, this is where you put your static assets of your site, you can reference these images easily by their relative path within each component.
The last piece is the pages folder, this folder is special because the filename of each page will automatically be recognized by Gatsby and it will create linkable paths for your site, for example 404.js is your default 404 not found page component, while index.js is your homepage.
There’s no need to tinker with React Router or anything, Gatsby takes care of all that for you so you can focus on your site/app.
Plugins
Gatsby was built from the ground up to support plugins, not only is this a great architectural decision, it also allowed Gatsby to be extremely powerful with featured created by the community. Let’s see how we can leverage some plugins offered by Gatsby.
open gatsby-config.js and you should see the following:
module.exports = {
  siteMetadata: {
    title: 'Gatsby Default Starter',
  },
  plugins: [
    'gatsby-plugin-react-helmet',
    {
      resolve: `gatsby-source-filesystem`,
      options: {
        name: `images`,
        path: `${__dirname}/src/images`,
      },
    },
    'gatsby-transformer-sharp',
    'gatsby-plugin-sharp',
    {
      resolve: `gatsby-plugin-manifest`,
      options: {
        name: 'gatsby-starter-default',
        short_name: 'starter',
        start_url: '/',
        background_color: '#663399',
        theme_color: '#663399',
        display: 'minimal-ui',
        icon: 'src/images/gatsby-icon.png', // This path is relative to the root of the site.
      },
    },
    // this (optional) plugin enables Progressive Web App + Offline functionality
    // To learn more, visit: https://gatsby.app/offline
    // 'gatsby-plugin-offline',
  ],
}
- SiteMetadata is where you put your website’s title or description in.
- Plugins are where you define plugins to enhance the power of Gatsby. Out of the box Gatsby offers Sharp and transformer-sharp to deal with images, Gatsby-plugin-offline for progressive web app related features.
Let’s give our starter plate extra powers by installing the gatsby-plugin-google-analytics and gatsby-plugin-sass modules.
on the command line run:
npm i gatsby-plugin-google-analytic gatsby-plugin-typography gatsby-plugin-sass --savethen append the following to the plugin section of your gatsby-config.js file:
    {
      resolve: `gatsby-plugin-google-analytics`,
      options: {
        trackingId: "UA-XXXXXXXX-1",
        // Puts tracking script in the head instead of the body
        head: false,
        // Setting this parameter is optional
        anonymize: false,
        // Setting this parameter is also optional
        respectDNT: false
        // Avoids sending pageview hits from custom paths
        // exclude: ["/preview/**", "/do-not-track/me/too/"],
      },
    },
    'gatsby-plugin-sass'
you now have GA tracking script set up on your site, gatsby will take care of loading in the tracker on every page route. You also have SASS set up, all you have to do now is to create a styles folder and drop your main.scss in there and you now can reference your styles right on your elements:
<div className="nav-bar nav-bar-dark"></div>Cool isn’t it?
Build and Distribution
Now that you have a nice site running, let’s get ready to pack everything together into an optimized bundle to upload to a static server such as Amazon S3. To build your project, run
gatsby buildYou’ll see a public folder created at your project root directory. We can preview it to see how it looks with
gatsby serveHead over to localhost:9000 to see your site, and if everything looks good, then we’re ready to upload our project to our server for the world to see, all you have to do is to upload the content of this public folder to your server.
Well that is it for this simple introduction to Gatsby.js, and we havn’t even scratched the surface! If you want me to create more tutorials about other aspects of Gatsby, please drop a comment below. Be sure to check out Gatsby’s amazing selection of Starter Plates and plugin on their official website.
If you enjoyed this tutorial, make sure to subscribe to our Youtube Channel and follow us on Twitter @pentacodevids for latest updates!